

How to Sight in a Thermal Scope: A Step-by-Step Guide for Precision Shooting
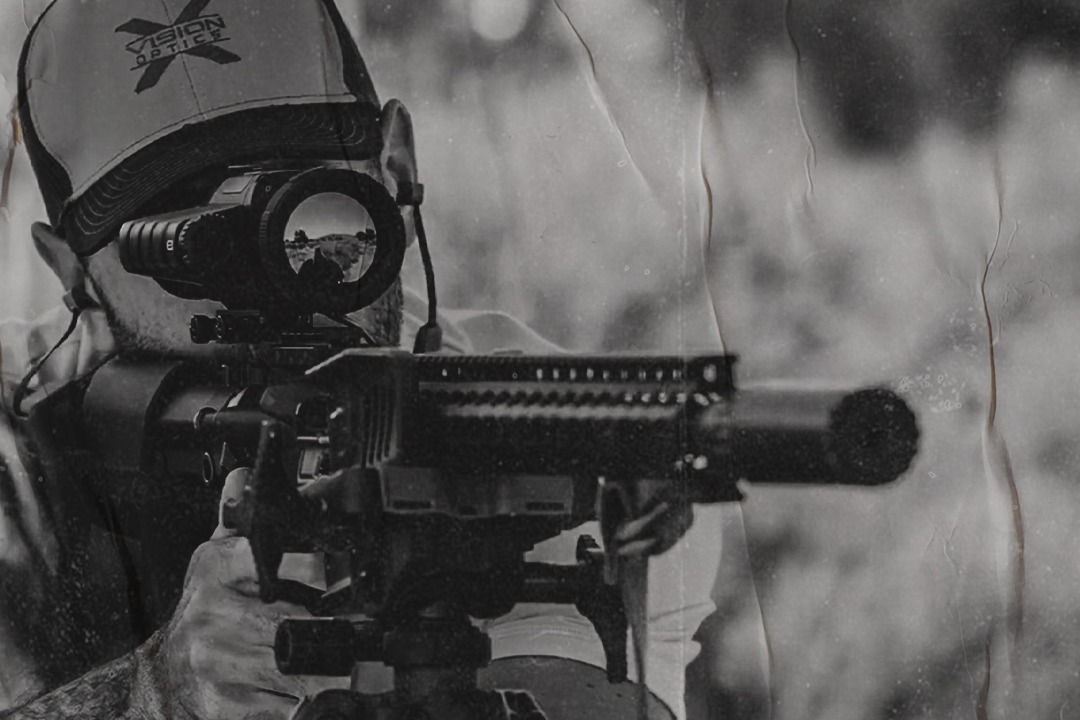
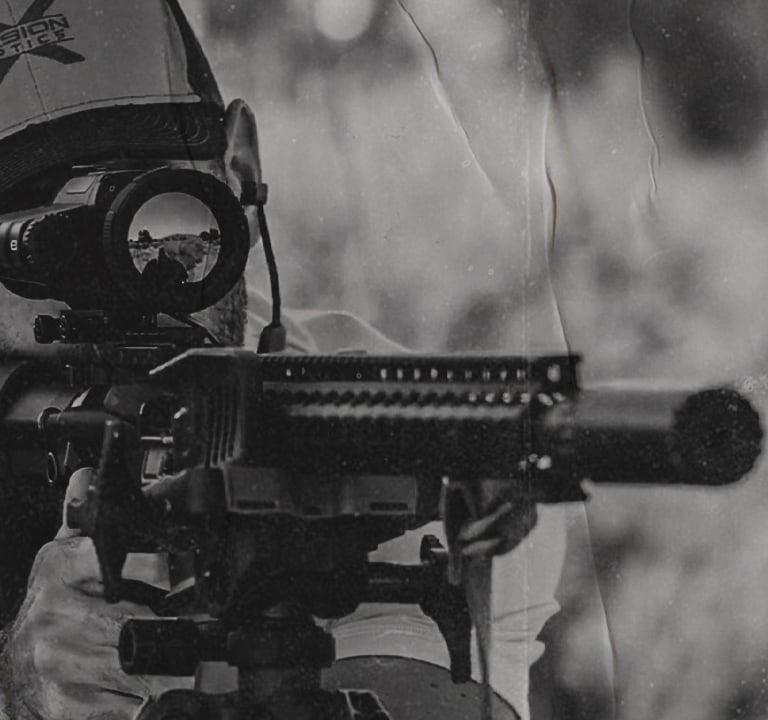
Master the art of sighting in a thermal scope like the Impact 250 by X-Vision Optics. This detailed guide covers everything you need to zero your thermal optic effectively and achieve pinpoint accuracy.
EDUCATIONSHOOT

What are the step-by-step instructions for sighting in a thermal scope with precision?
Zeroing a thermal scope can feel challenging, but with the right approach, it’s an easy and rewarding process. In this guide, I will break down every step, ensuring your thermal optic is sighted in accurately.
Step 1: Create a Contrasting Target
Thermal scopes rely on temperature differences to detect targets. Here's how to set up your target:
Materials Needed: Aluminum foil, cardboard, duct tape, or electrical tape.
Setup: Attach foil to the cardboard, then use tape to mark a contrasting center point.
This setup ensures a clear aiming point through your scope.
Step 2: Choose a Stable Shooting Position
Accuracy begins with stability. Use a tripod or a lead sled to minimize movement when sighting in your thermal optic. A steady position is essential for precise reticle adjustments.
Step 3: Optimize Thermal Scope Settings
Thermal scopes come with various customizable settings. Adjust these before firing:
Brightness & Contrast: Tailor to your environment for better visibility.
Zeroing Distance: Select a range, such as 100 yards, for your setup.
Color Palettes: Experiment with options like white-hot or black-hot for best heat contrast.
Access these options via the quick menu, and save your preferences.
Step 4: Fire and Evaluate Your Shot
After taking your first shot:
Check the impact location through the scope or inspect the target manually.
If necessary, mark the impact point with tape for better visibility.
Pro Tip: If you’re not hitting the target, move it to 25 yards for an offset zero. For calibers like .223 or 5.56, aim for 2 inches high at 25 yards.
Step 5: Adjust the Reticle
Align the rifle to the original point of aim.
Enter the zeroing settings menu and activate the freeze frame feature.
Adjust the X/Y values to move the reticle to the impact point.
Save the settings and test with follow-up shots for confirmation.
Step 6: Fine-Tune Your Zero
Achieving a perfect zero requires consistency:
Fire three-shot groups to determine the center of impact.
Adjust the reticle as needed and repeat until the group is on target.
Frequently Asked Questions
What is the best distance to zero a thermal scope?
100 yards is ideal for most setups, but it depends on your shooting application and environment. Depending on your unit, there might also be a certain preset of varying zeroing distances that you will want to zero to as well.
*Bonus tip* A good starting point is 25 yards. Reason being is that sometimes you are so far off at 100 yards you don't know where your impacts are on target. So I would recommend start at 25 yards, shoot 1 round, then adjust to be 1-2 inches high at 25 yards depending on caliber. Then when you shoot your first round on target at 100 yards, you will be very close to center and can make fine tune adjustments from there without dumping an entire box at 100 just to get on paper.
Can I sight in a thermal scope at night?
Yes, thermal scopes are designed for low-light environments, making night zeroing effective. If the aluminum foil isn't producing enough of a heat contrast at night, you can also use Hothands packs on your target to provide you with a point of aim or point of impact.
Conclusion
Zeroing a thermal scope like the Impact 250 is a simple process when broken into manageable steps. With a stable shooting position, optimized settings, and precise adjustments, you’ll be hitting your mark in no time and have a solid zero in just a few shots.
Full How-To Video


More Education


JOIN THE COMMUNITY